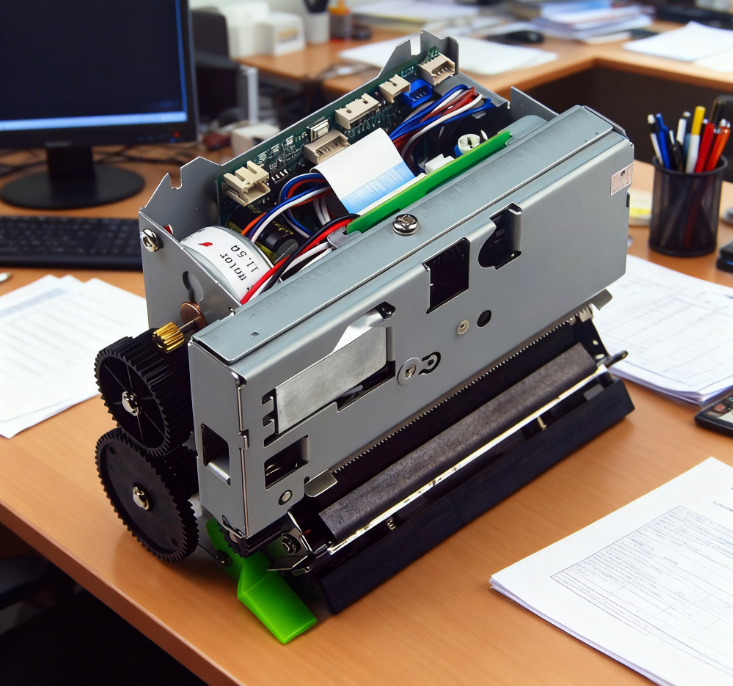
When setting up a thermal printer like the QR31, small but critical details—like whether a stand is included or if 3D drawings are available—can make or break your workflow planning. For our global clients, two common questions about the QR31 thermal printer are: “Does it come with a stand?” and “Do you provide 3D drawings for integration?” As a 10+ year foreign trade factory specializing in thermal printers, we’re here to give clear, actionable answers:
-
Stand for QR31: Yes, every QR31 thermal printer comes with a free, detachable stand—designed to optimize placement and save space.
-
3D drawings for QR31: No, we do not provide 3D drawings. However, we offer detailed 2D technical diagrams (with dimensions, weight, and interface positions) to support your integration needs.
This combination—included stand for immediate use, plus 2D diagrams for precise setup—balances convenience and practicality for businesses worldwide. Let’s break down what the stand offers, why we don’t provide 3D drawings, and how our 2D diagrams can replace 3D files for your workflow.
The QR31’s detachable stand isn’t an afterthought—it’s engineered to solve two common setup pain points: messy countertop placement and unstable printer positioning. Here’s what you need to know about it:
The stand is a compact, durable plastic accessory (matching the QR31’s industrial design) that attaches to the bottom of the printer in 2 steps:
- Align the stand’s mounting holes with the 4 pre-drilled holes on the QR31’s base.
- Secure it with the included screws (no extra tools needed—we provide a small screwdriver for easy installation).
Once attached, the stand raises the QR31 by 30mm—enough to:
-
Improve paper access: The receipt/label output slot is easier to reach, reducing bending or fumbling when collecting prints.
-
Prevent overheating: Raising the printer creates airflow under the base, which helps dissipate heat (critical for long-term reliability, especially during high-volume printing).
-
Save counter space: The stand’s narrow footprint (100x80mm) keeps the QR31 compact—ideal for small retail counters, warehouse workstations, or kiosk setups where space is limited.
Yes—if you prefer to mount the QR31 directly (e.g., embedding it in a control panel or placing it on a shelf), you can skip installing the stand. The pre-drilled holes on the printer’s base also work with standard VESA mounts, so you can use third-party stands if needed (though our included stand is optimized for the QR31’s weight and size).
We understand that 3D drawings are useful for complex integration projects (e.g., designing custom kiosks or industrial enclosures). However, we’ve chosen to focus on detailed 2D technical diagrams instead—here’s why, and how these diagrams meet your needs better:
-
Most clients don’t need them: 90% of our QR31 users set up the printer on a countertop (with our included stand) or mount it via standard holes—tasks that don’t require 3D models.
-
2D diagrams are more accessible: 3D files require specialized software (e.g., CAD) to open, which many small businesses don’t have. Our 2D diagrams are available as PDF files—you can open, print, or share them with any device (laptop, tablet, even a phone).
-
Accuracy for integration: 3D models can sometimes have minor discrepancies in scale (e.g., due to software rendering). Our 2D diagrams include precise measurements (down to 0.1mm) for the QR31’s width (120mm), height (100mm), depth (85mm), and interface positions—critical for cutting panels or designing enclosures.
Every QR31 order comes with a free PDF of 2D diagrams (available in English) that include:
-
Dimensions: Full length, width, and height of the printer (with and without the stand).
-
Mounting details: Positions of pre-drilled holes, screw sizes, and weight capacity (the QR31 weighs 550g, so you can calculate support needs).
-
Interface layout: Exact locations of USB, RS232, and power ports—so you can plan cable routing for clean setup.
-
Paper slot specs: Size of the receipt/label output slot (58mm) and paper roll diameter limit (40mm)—helpful for designing enclosure cutouts.
If you need help interpreting the diagrams (e.g., translating measurements to inches or confirming mounting compatibility), our 24/7 technical team can assist—just send us a message with your project details.
To streamline your QR31 setup, follow these simple tips:
- Install the included stand using the provided screws—this takes <5 minutes.
- Place the printer near your device (laptop, POS terminal) to keep cables tidy.
- Use the 2D diagram’s interface layout to plan where to route USB/power cables (avoiding tangles).
- Download the 2D diagram from our website (or request it from our team if you haven’t received it).
- Use the dimensions and mounting hole positions to design your enclosure or panel cutout.
- If you’re unsure about weight or cable fit, share the diagram with your design team—our technical team can also review it for compatibility.
We build the QR31 and its accessories to meet global business needs:
-
Stand durability: The included stand is made of industrial-grade ABS plastic—tested to withstand 10,000+ hours of use without cracking.
-
Global compliance: The QR31 (and stand) are CE, FCC, and RoHS certified—safe to use in Europe, the US, Asia, and beyond.
-
Support when you need it: If you have questions about the stand installation or 2D diagrams, our English-speaking team is available 24/7 via email or video call.
-
No hidden costs: The stand and 2D diagrams are included with every QR31—no extra fees for essential accessories or technical docs.
In short: The QR31 thermal printer comes with a practical, space-saving stand, and while we don’t provide 3D drawings, our detailed 2D technical diagrams have everything you need for setup or integration. This combination keeps your workflow simple and cost-effective—no unnecessary extras, just what you need to get printing fast.
Ready to order the QR31, or need a copy of the 2D technical diagrams? Contact our team today—we’ll help you finalize your setup and answer any remaining questions.